Coding N Concepts
 Spring Initializr Plugin for Eclipse IDE
In this article, we’ll learn how to install Spring Tool Plugin for Eclipse IDE to create a Spring Boot Project from Scratch using Spring Initializr.
The Spring Tools Plugin for the Eclipse IDE is well suited for getting started with Spring Boot Project. Follow the steps for installation and usage of Spring Tool for Eclipse IDE:-
Install Spring Tools Plugin for Eclipse IDE
-
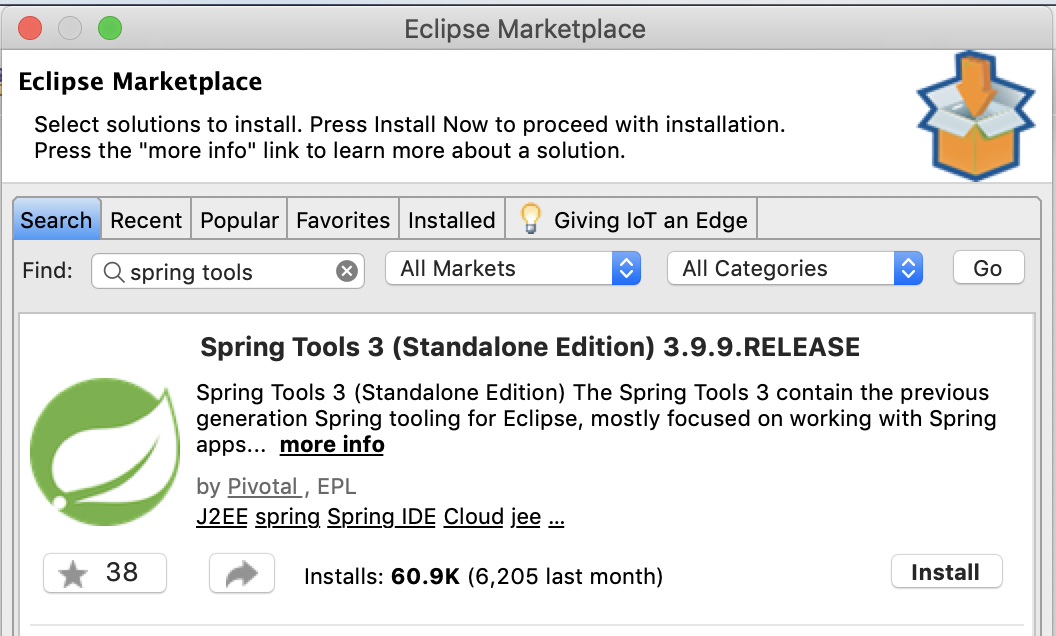
You can install the Spring Tools plugin for Eclipse IDE into an existing Eclipse installation using the Eclipse Marketplace. Go to help -> Eclipse Marketplace and Just open Marketplace, search for Spring Tools and install the Spring Tools 3 (Standalone Edition).
Note: Spring Tools plugin name might be different based on OS (Windows or Mac OS X) and Eclipse version you have installed.
Spring Tools for Eclipse IDE
-
Once you click on install, next screen will be Confirm Selected Features. All features are selected by default. Click on confirm.
-
Next screen will ask you to accept the terms of license agreement and click finish
That’s it for installation. Spring Tools will be installed in your Eclipse in few minutes. once it installed the plugin, it will ask you to restart the eclipse.
Create Spring Boot Project Using Spring Tools
The Spring Tools for Eclipse IDE come with a direct integration of Spring Initializr.
-
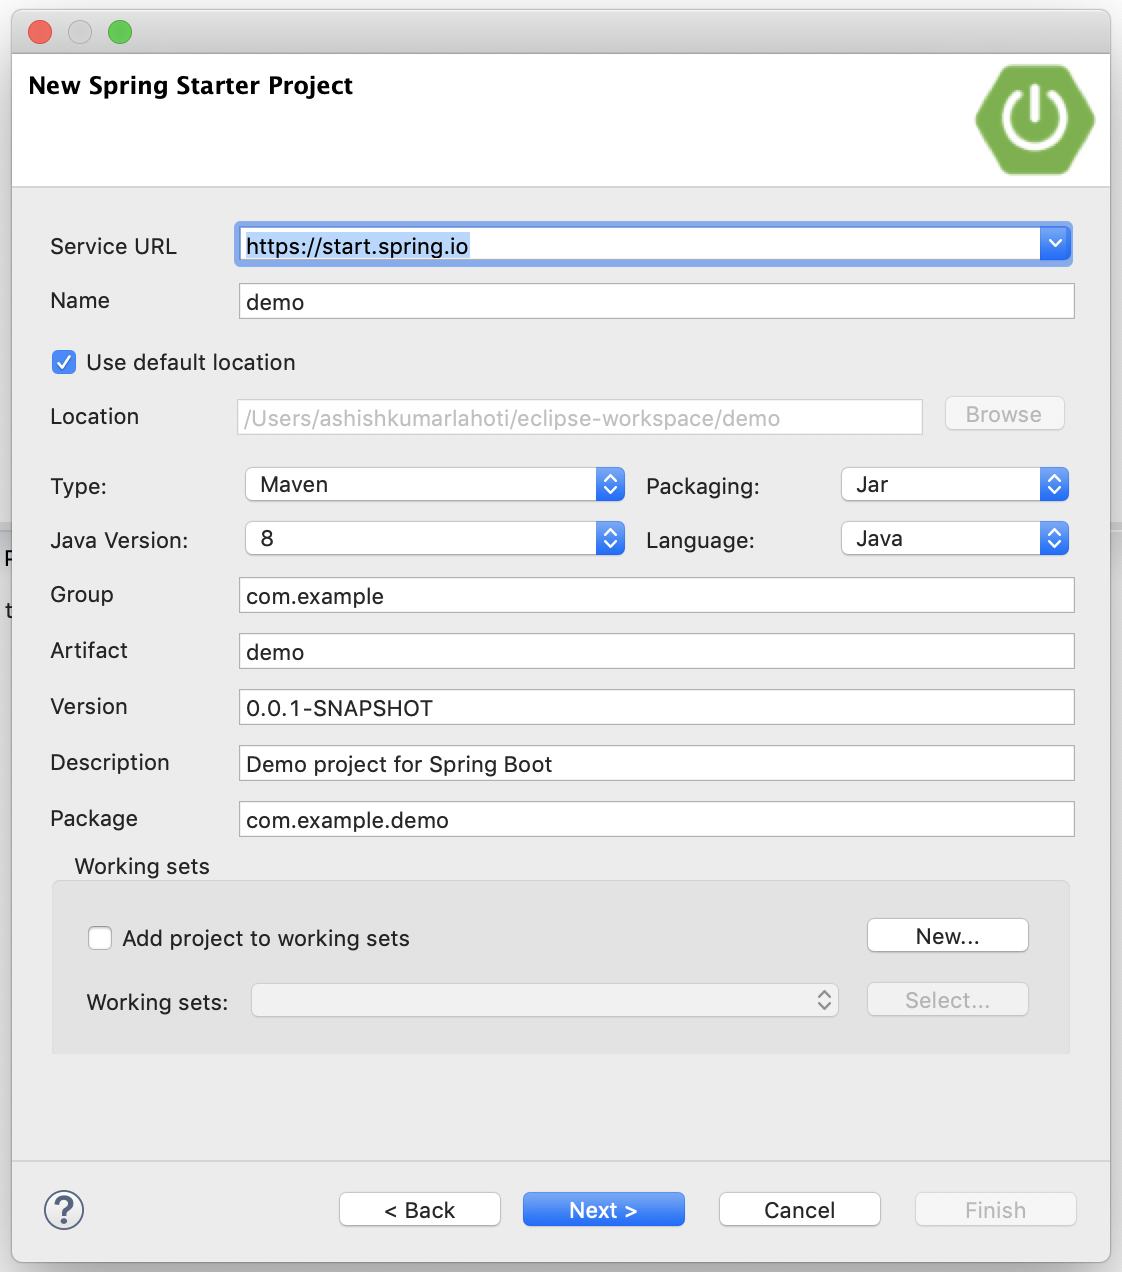
Go to File, select New and choose the Spring → Spring Starter Project. It will open a wizard New Spring Starter Project
-
Service URL has by default Spring Initializr endpoint but this wizard lets you choose in case you have custom one running within you company.
-
Wizard lets you choose Type (Maven, Gradle), Packaging (Jar, War), language (Java, Kotlin, Groovy), Java Version and Other Project metadata.
Spring Initializr for Eclipse IDE
-
Go to next screen and choose Spring Boot Version and required Dependencies that match your interest and click finish. You end up with a ready-to-use Spring Boot project in your workspace - in just a few seconds.
Summary
Congratulations!! You’ve learned how to quickly create Spring Boot Project in Eclipse IDE using Spring Initializr.
If you are not using Eclipse IDE then don’t worry, you can still create a Spring Boot Project using Spring Initializr by following this post link:-