Coding N Concepts
 A Step-by-Step Guide to Create an AWS Account
This step by step guide is very helpful for beginners to create a personal account with AWS.
Create your account
① Open this AWS link - Amazon Web Services home page.
② Choose Create an AWS account. If you signed in to AWS recently, then choose Sign in to the Console.
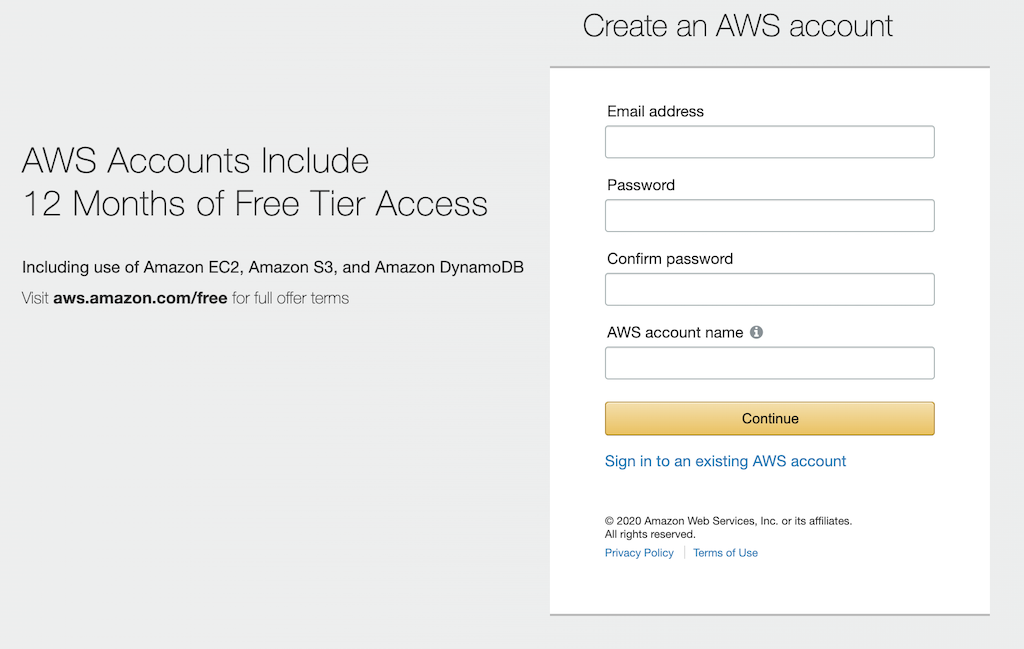
③ Enter your account information:
- Email Address: Be sure that you enter your account information correctly, especially your email address. If you enter your email address incorrectly, you can’t access your account.
- AWS Account Name: Choose a name for your account. You can change this name in your account settings after you sign up.
- Password: Choose Strong password for your account.
and then choose Continue
④ Enter your personal information:
- Choose ⦿ Personal
- Enter your email address and phone number for a root account.
⑤ Read and accept the AWS Customer Agreement.
⑥ Choose Create Account and Continue.
You receive an email to confirm that your account is created. You can sign in to your new account using the email address and password you registered with. However, you can’t use AWS services until you finish activating your account.
Add a payment method
⑦ On the Payment Information page, enter the information about your payment method, and then choose Verify and Add.
You cannot use AWS services without adding payment method. If you are new to the AWS then most of the services which you will be using like Amazon EC2, Amazon S3, and Amazon DynamoDB comes under free tier so you don’t need to worry about much in the beginning. Please go through AWS Free Tier for more details.
Note: You can always set a Billing Alarm. If your billing goes beyond a certain amount, you will be notified via mail immediately.
Verify your phone number
⑧ Choose your country or region code and a phone number. Enter a phone number where you can be reached via text messages or voice call. Enter the security check captcha and then choose Send SMS.
⑨ You will receive a 4-digit verification code on your registered mobile number. Enter the verification code and choose Verify Code.
⑩ Upon successful verification, choose Continue.
Choose an AWS Support plan
⑪ On the Select a Support Plan page, choose one of the available Support plans. For a description of the available Support plans and their benefits, see Compare AWS Support Plans. Choose Free for Basic Plan.
Wait for account activation
⑫ you’ll receive a confirmation email once account is activated. Check your email and spam folder for the confirmation email. After you receive this email, you have full access to all AWS services.
Note: Accounts are usually activated within a few minutes, but the process might take up to 24 hours.
Login as root user
⑬ Open the Amazon Web Services home page again and choose Sign in to the Console.
⑭ Choose ⦿ Root User and login to account using your email address and password.
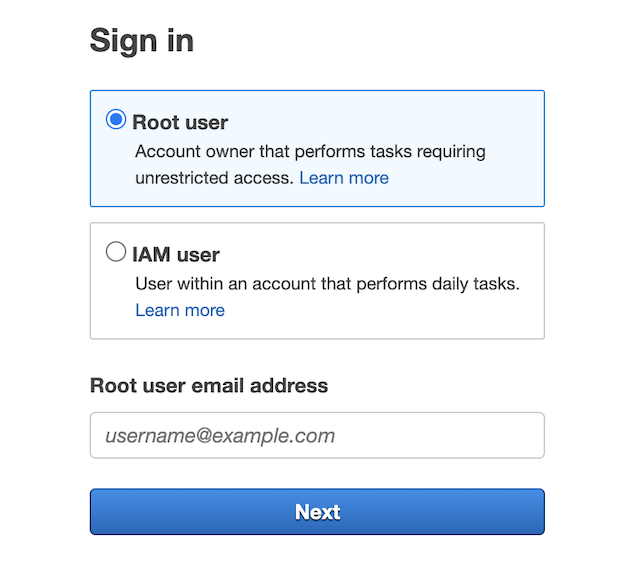
Congratulations!!! You have successfully created your AWS account.